Identity Authentication
Configuration path: "Tenant" → "Config" → "Security Service" → "Identity Authentication"
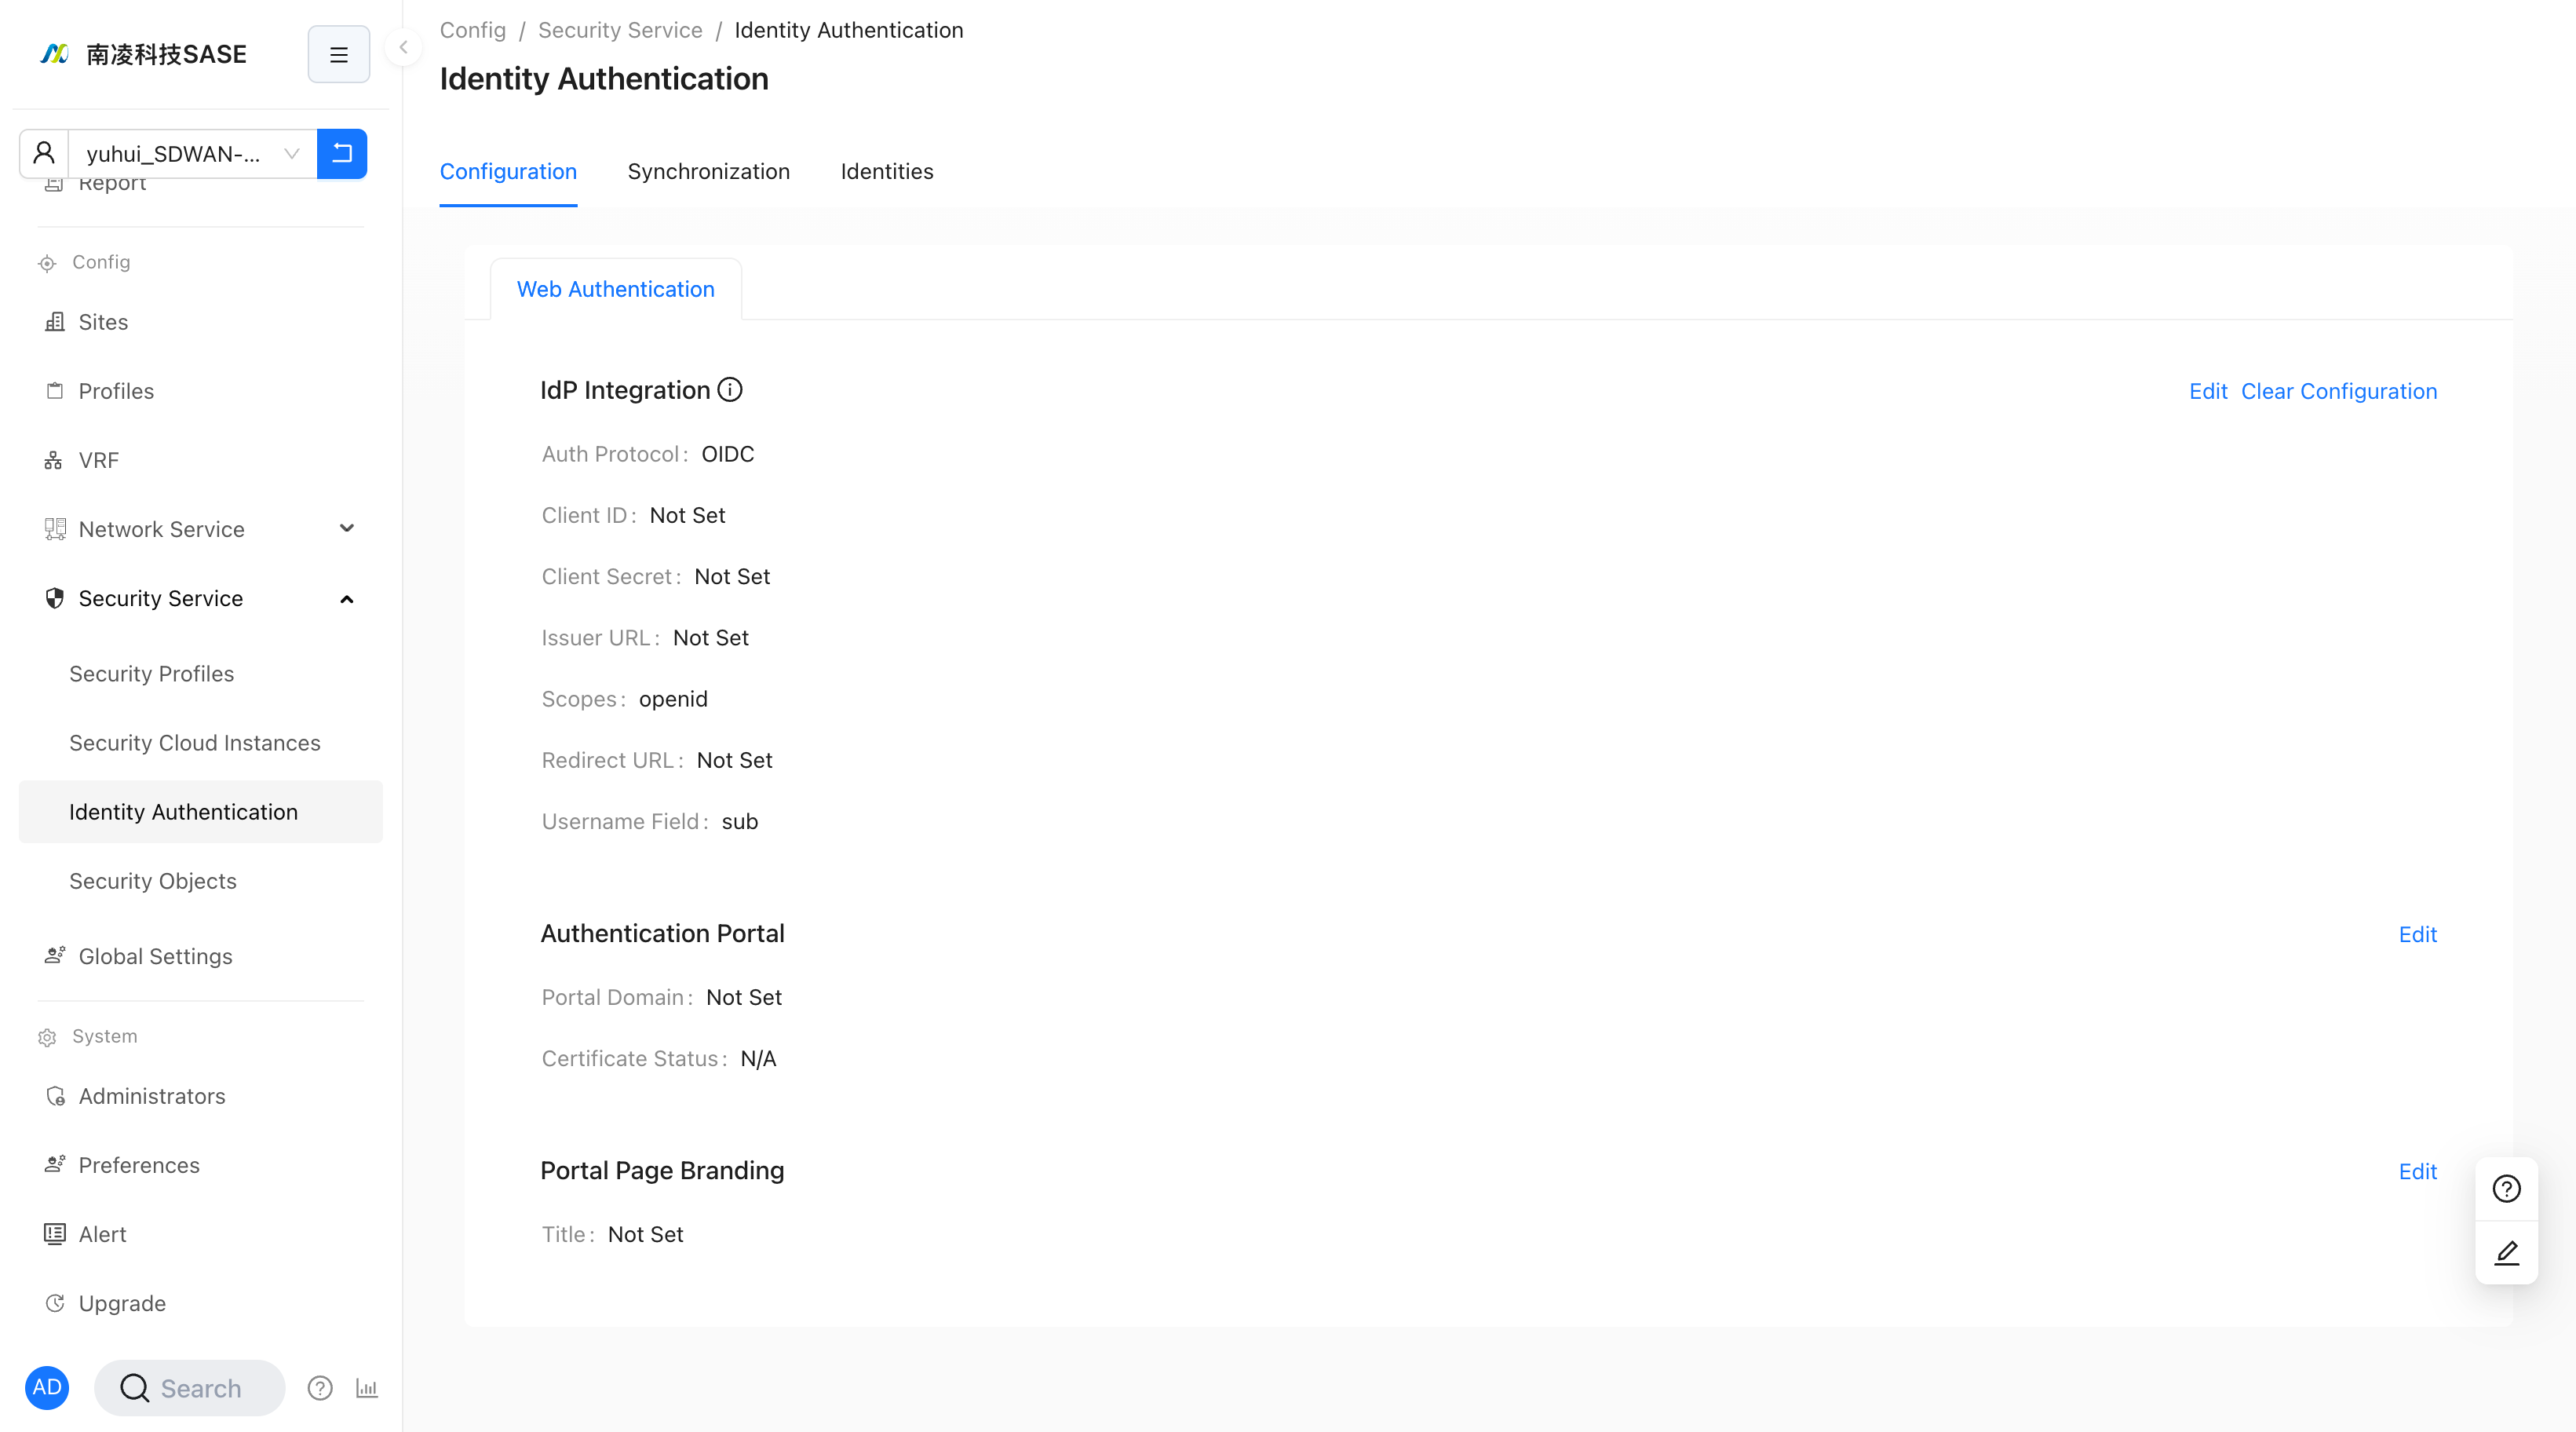
Identity Authentication
Configuration path: "Tenant" → "Config" → "Security Service" → "Identity Authentication", switch to the "Identity Authentication" page
Authentication Integration
In the "Authentication Integration" area, click "Modify" to pop up the configuration interface
Set the relevant parameters for authentication docking and click "Save" to save the configuration.
Note: Click "Advanced Options" to configure advanced options.
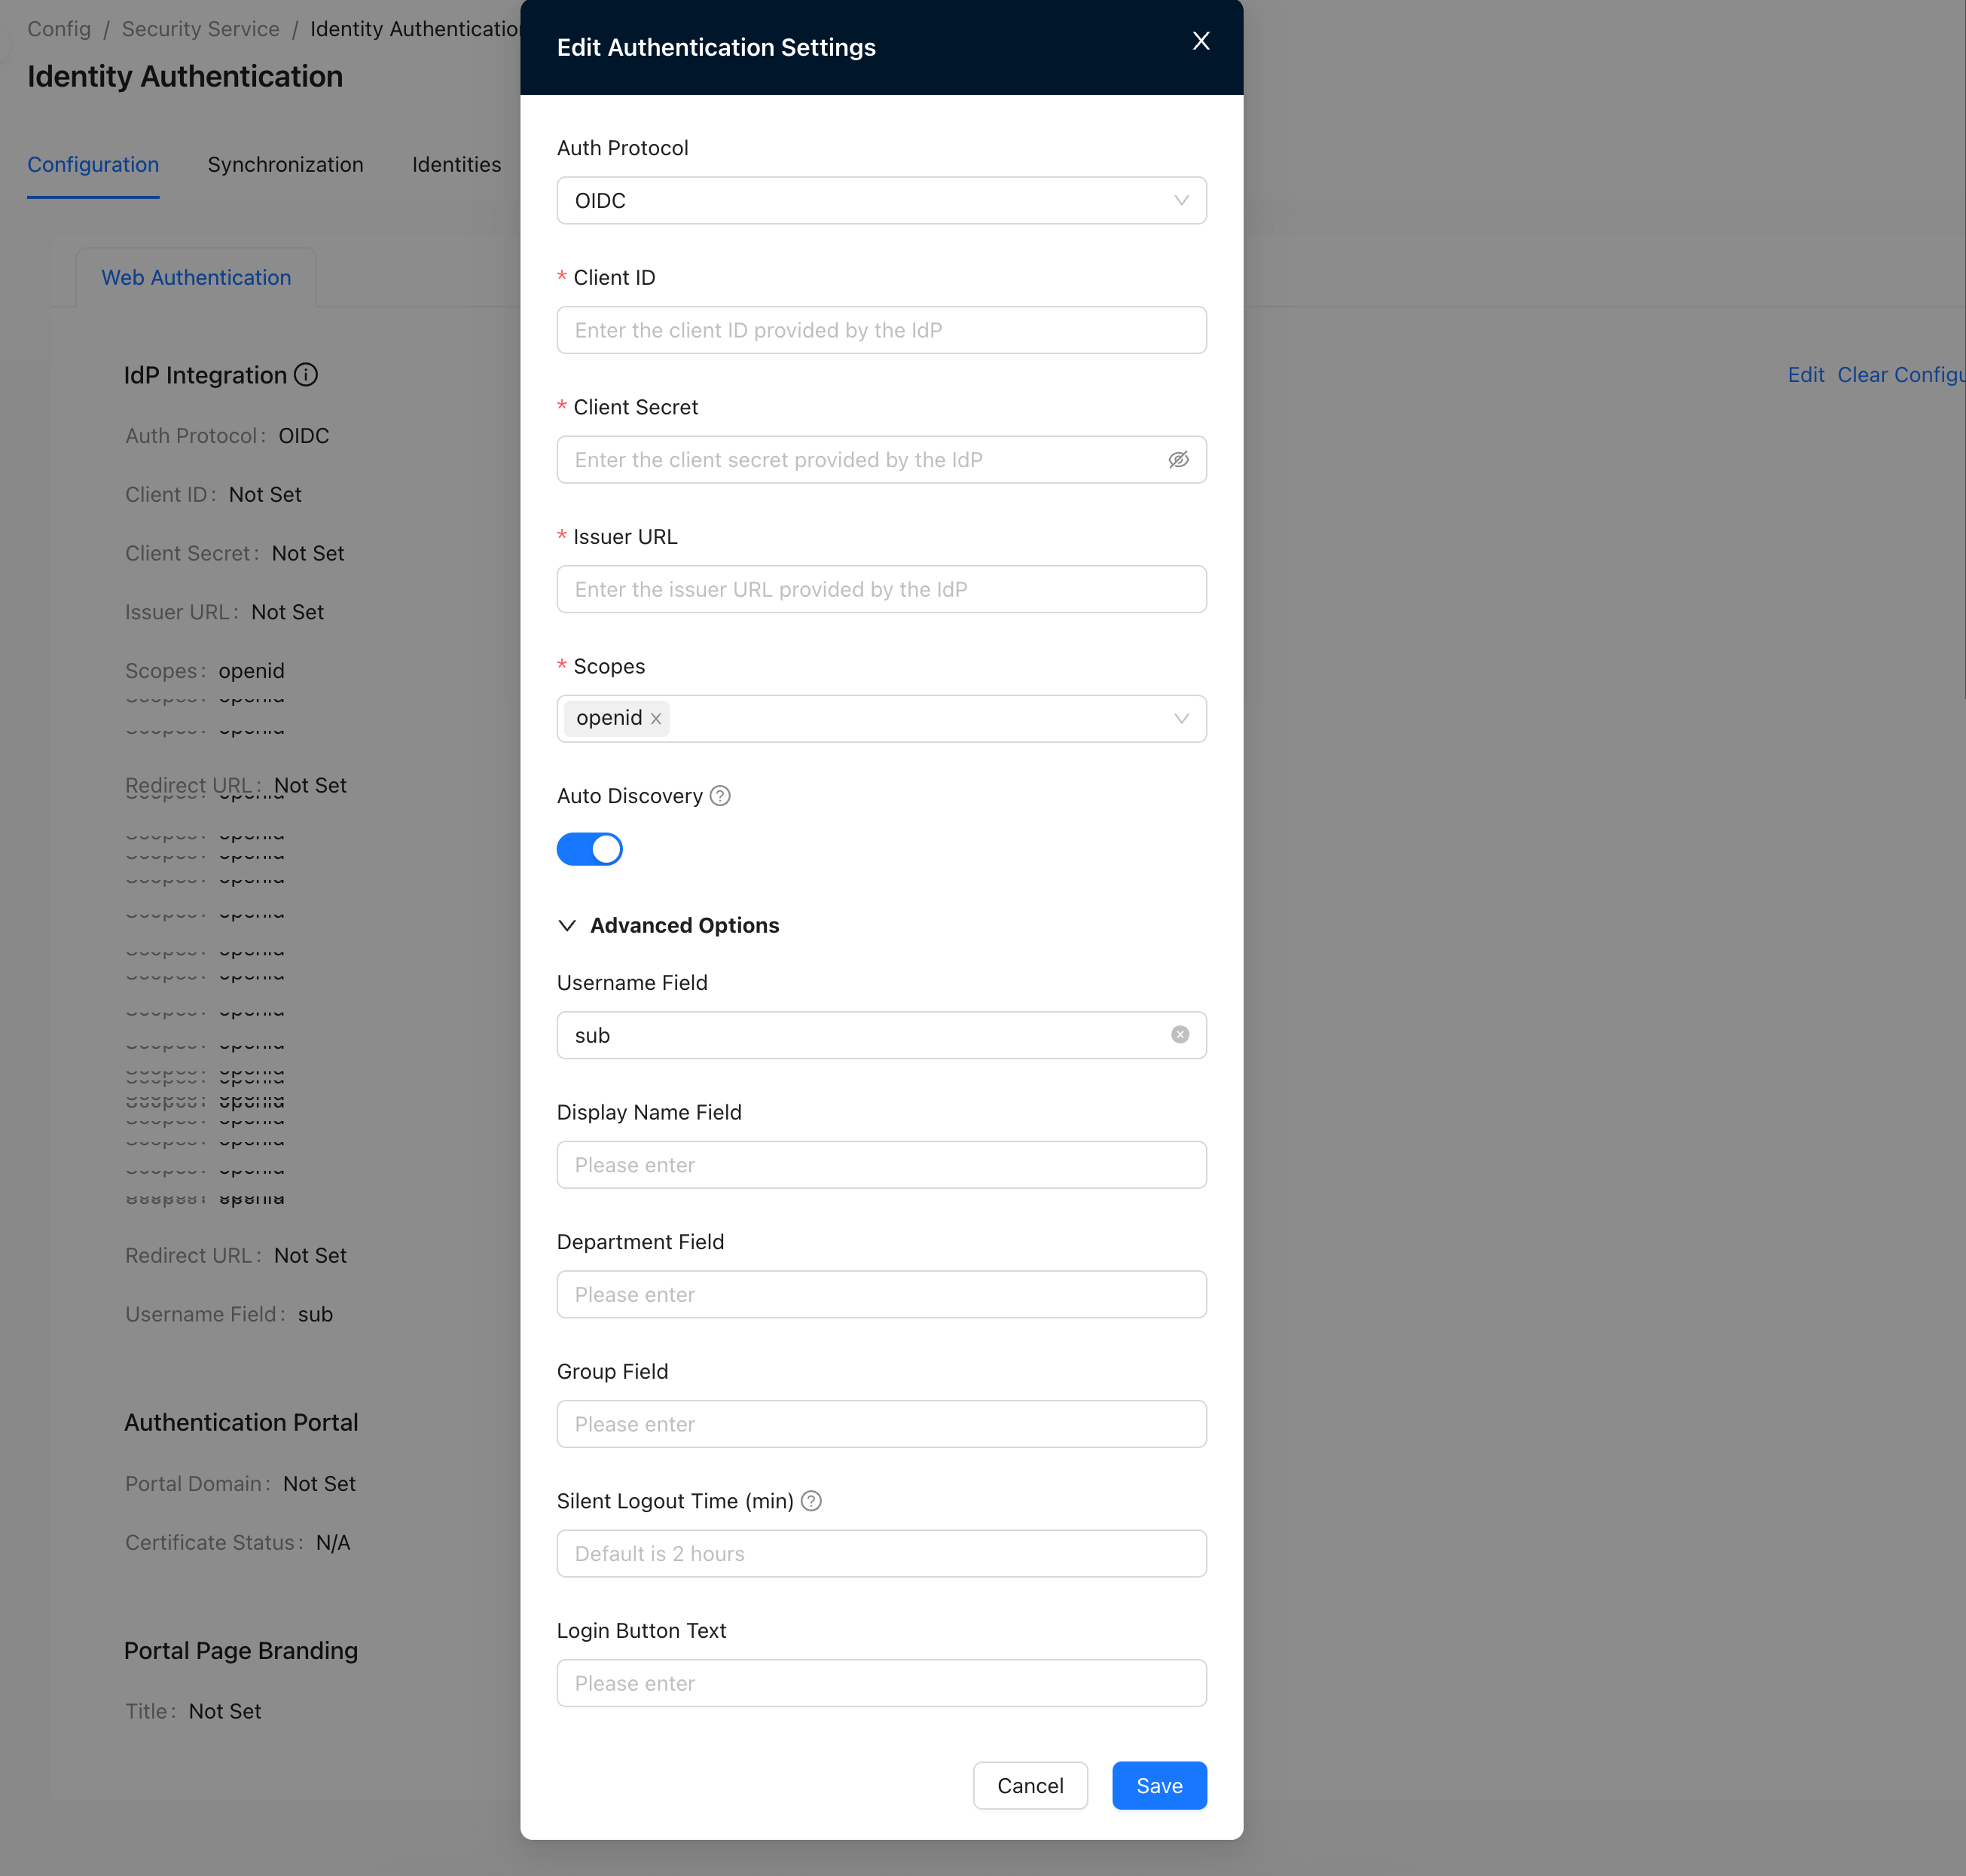
Parameter description
- Client ID, client key, Issuer address, Please use parameters of Starlink Controller-Application List-Single Sign-on
- User name mapping, display name mapping, department name mapping, Please use parameters of Starlink Controller-Application List-Single Sign-on
- Automatic discovery: When turned on, relevant parameters will be automatically filled in based on the service discovery address.
- Silent logout time: If there is no traffic on the authentication terminal within the specified time, it will automatically log out. The default expiration time is 2 hours
- Login button name: Authentication Portal interface, display name of the login button
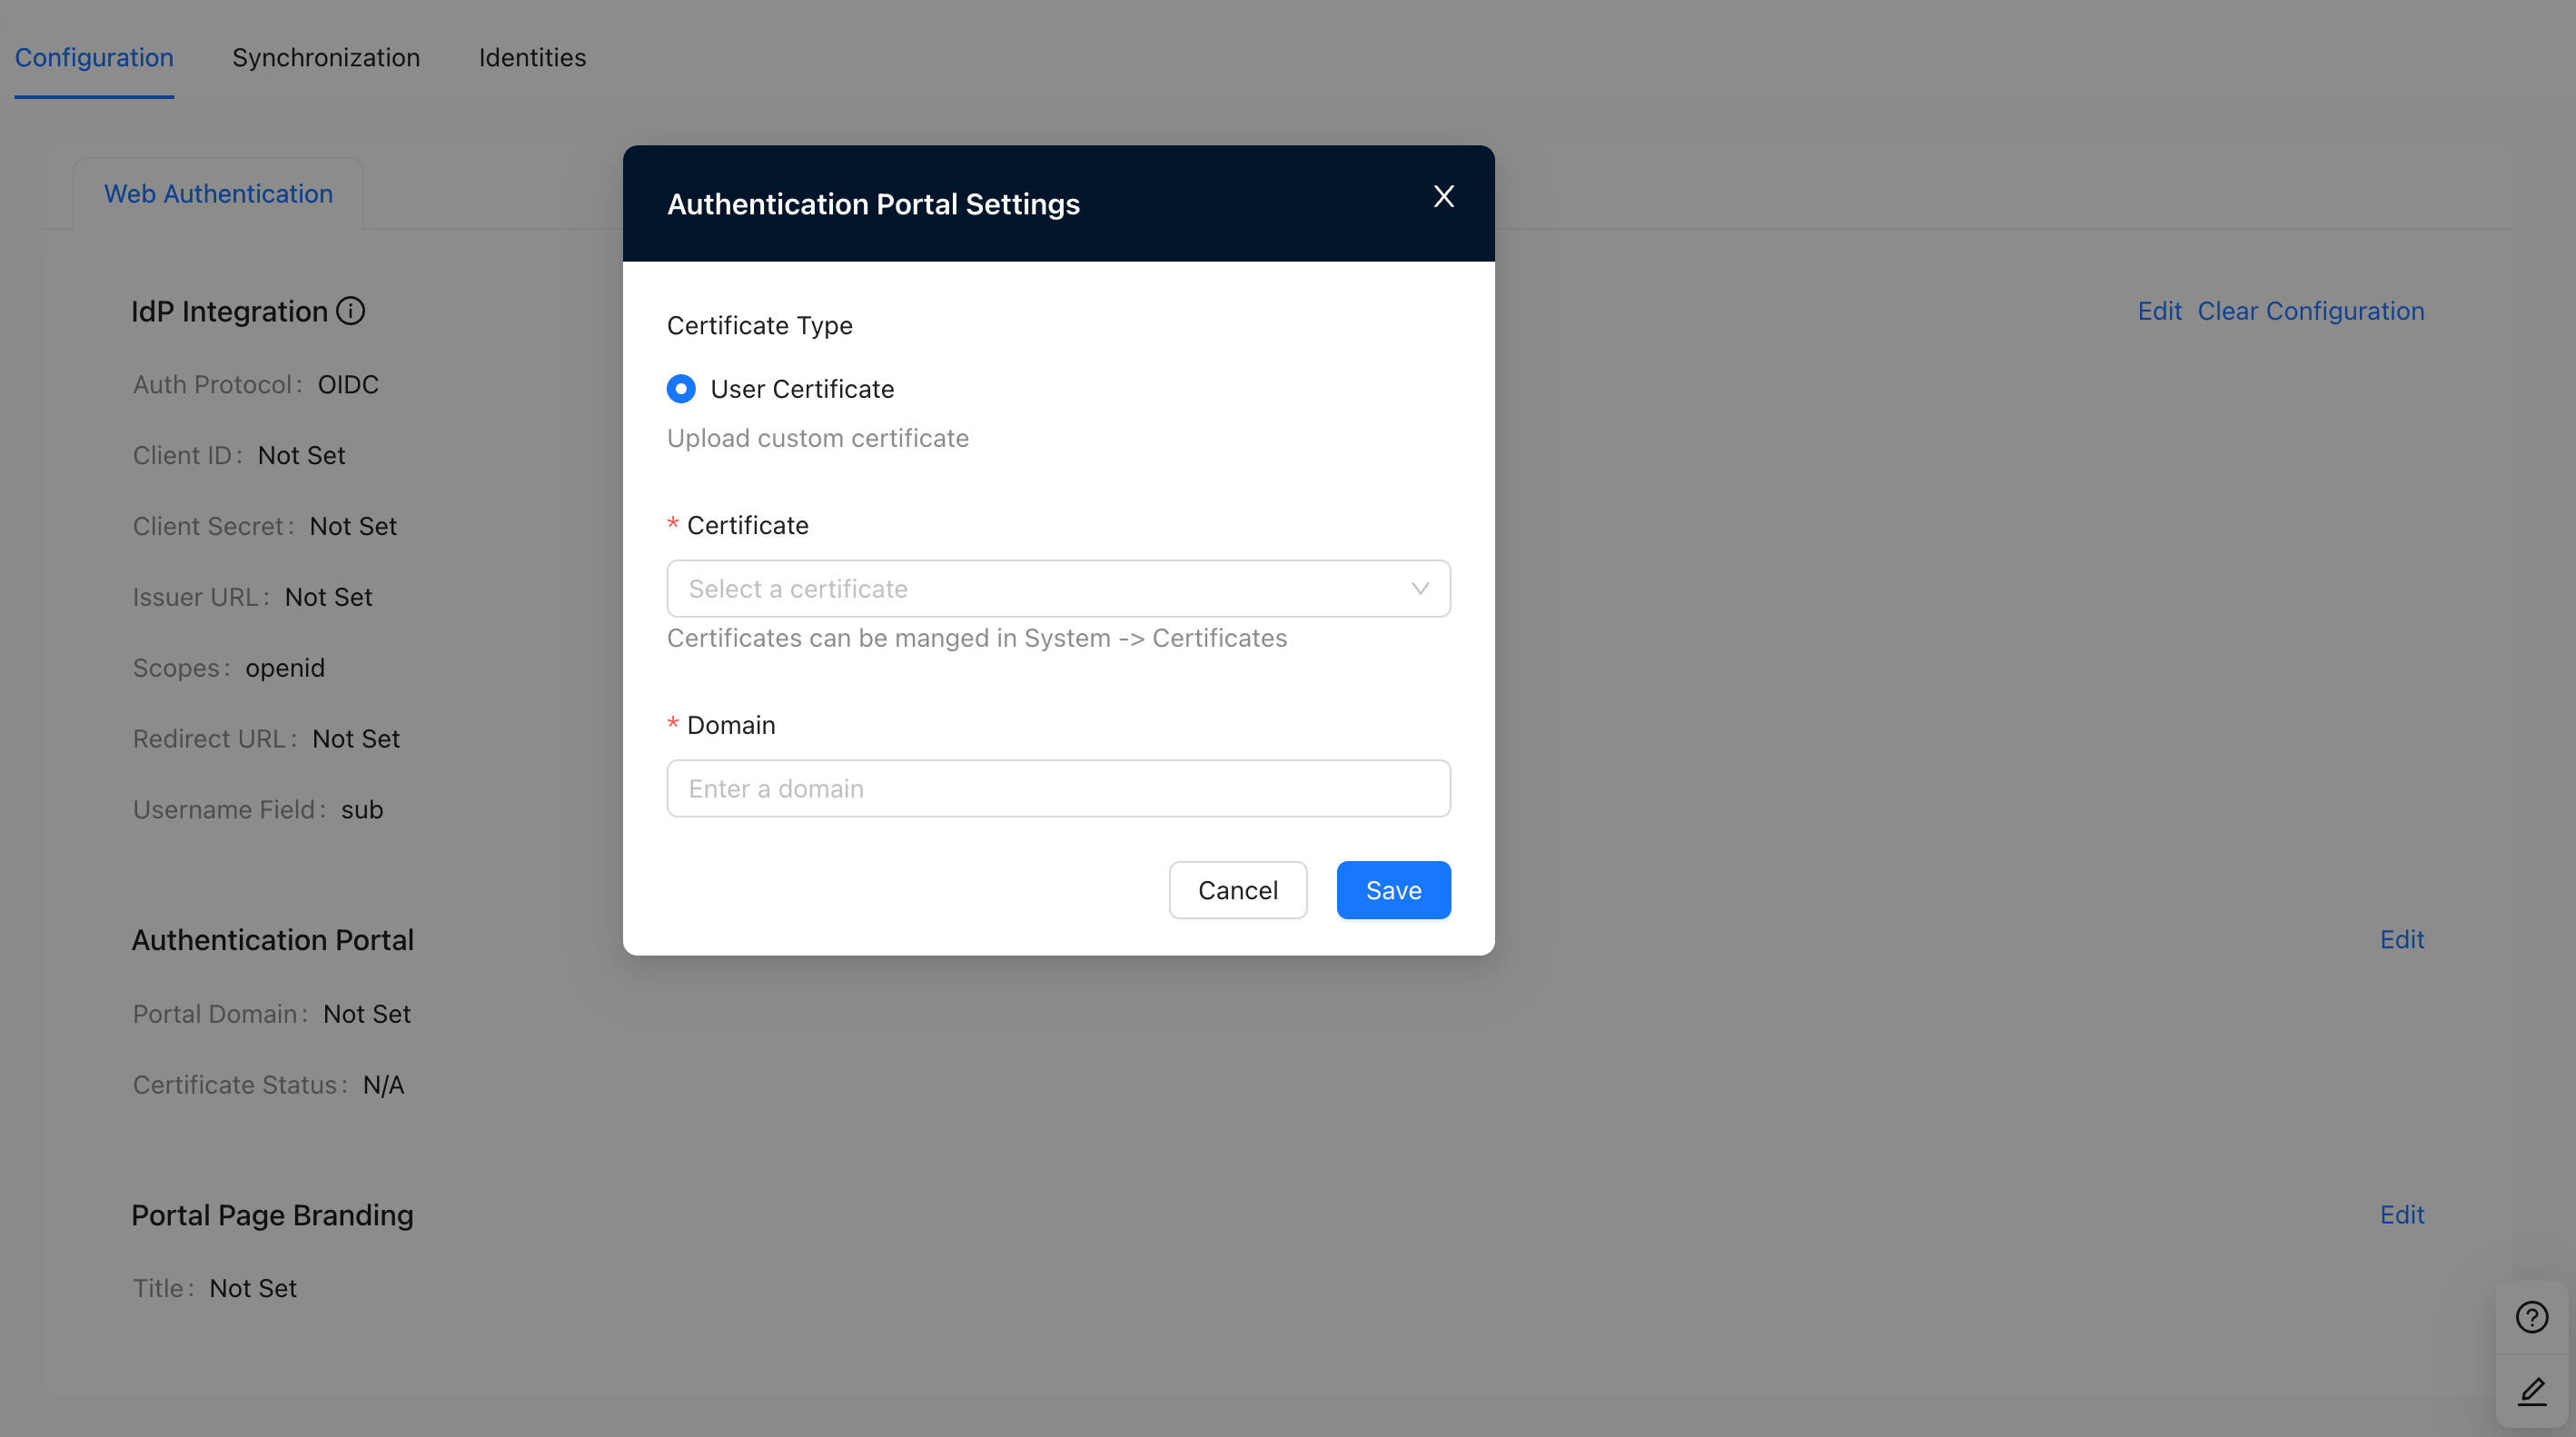
Authentication Portal
- In the "Authentication Portal" area, click "Modify" to pop up the configuration interface.
- Configure parameters and click "Save" to save the configuration, where:
- "Certificate": select the uploaded certificate
- "Domain": configure the domain name of the Authentication Portal
Authentication Page Customization
In the "Authentication Page Customization" area, click "Modify" to pop up the configuration interface
Configure parameters and click "Save" to save the configuration, where:
- "Title": set the title of the authentication page
- "LOGO": upload the logo of the authentication page
- "Custom CSS": choose whether to enable CSS to customize the UI of the authentication page

Identity Synchronization
Configuration path: "Tenant" → "Config" → "Security Service" → "Identity Authentication", switch to the "Identity Synchronization" page
Synchronization Parameter Settings
Click "Modify" to pop up the configuration interface
Configure parameters and click "Save" to save the configuration
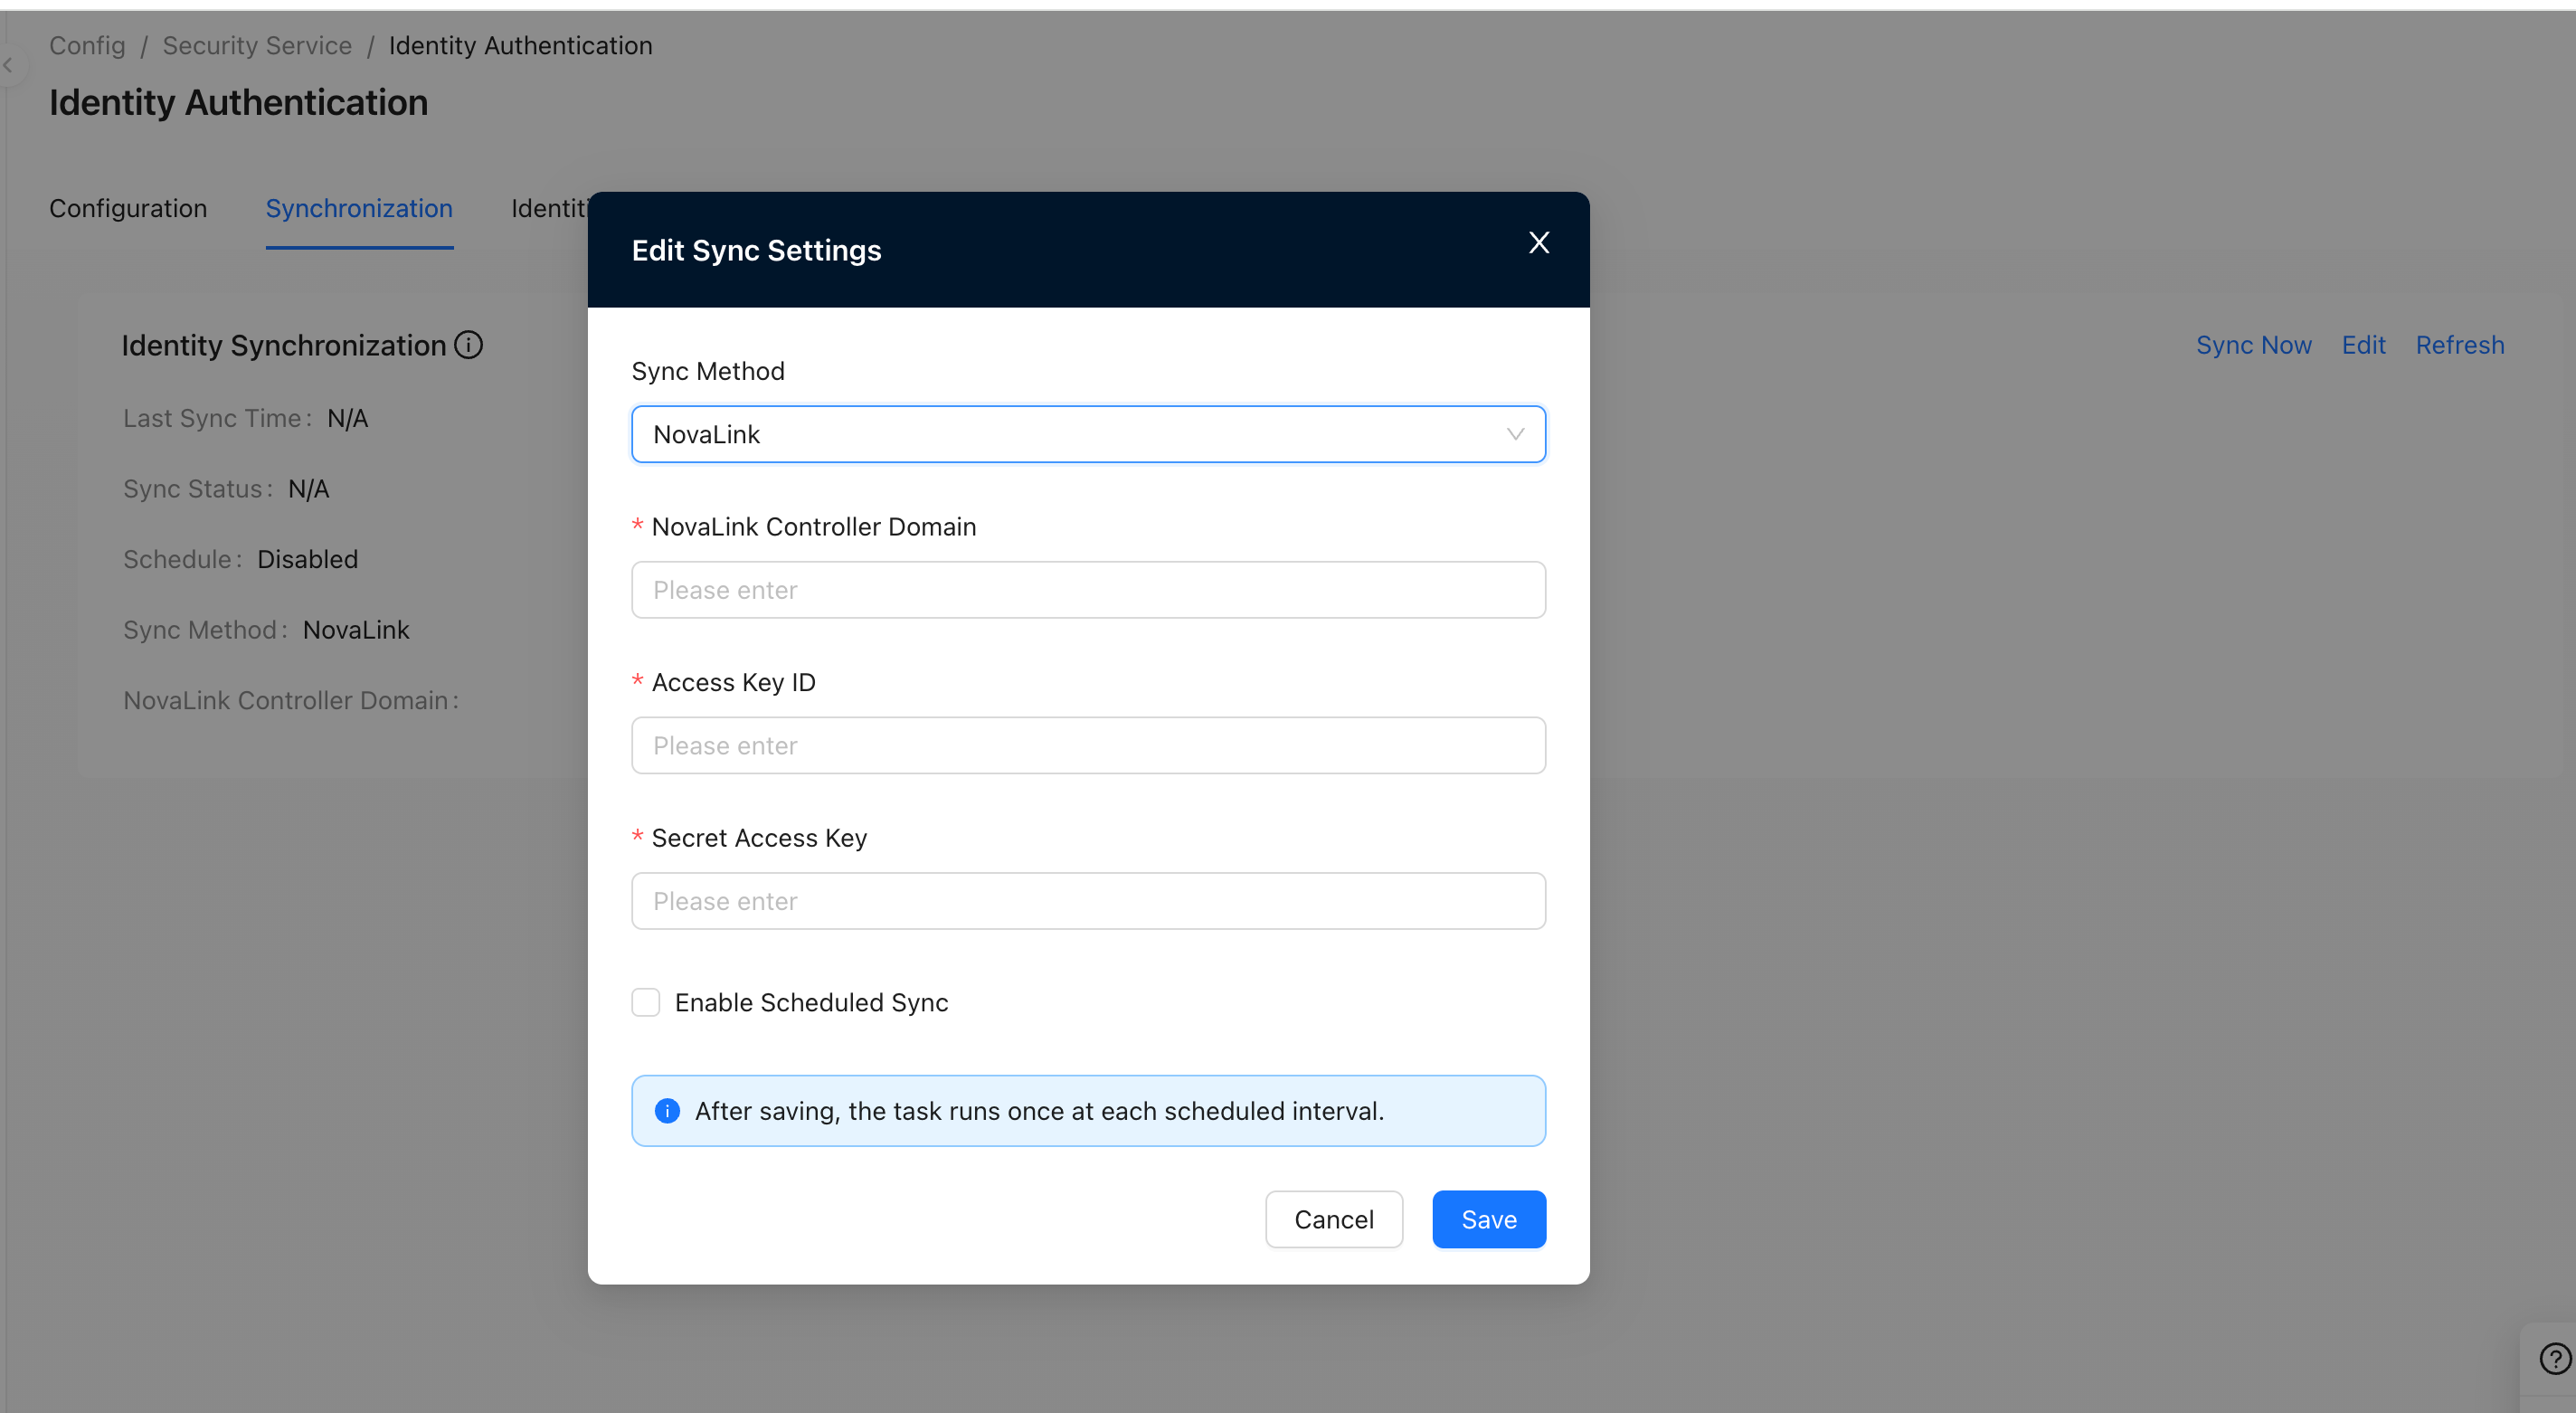
Parameter description
- Starlink controller domain name: the domain name of the connected Starlink controller
- access key ID, secret access key, Please use parameters of Starlink Controller-Settings-Integrated Management-API Management
- For "Authority Scope" on the Starlink controller, it is recommended to select "Companywide"
Manual Synchronization
Click Manual Sync, then OK
"Synchronizing" is displayed and synchronization is successfully triggered.
Automatic Synchronization
Click "Modify" to pop up the configuration interface
Check "Turn on scheduled synchronization" and enter the expression in "CRON Expression"; then click "Save" to save the configuration
View Synchronization Results
- Can be viewed under "Latest synchronization time" and "Sync status"
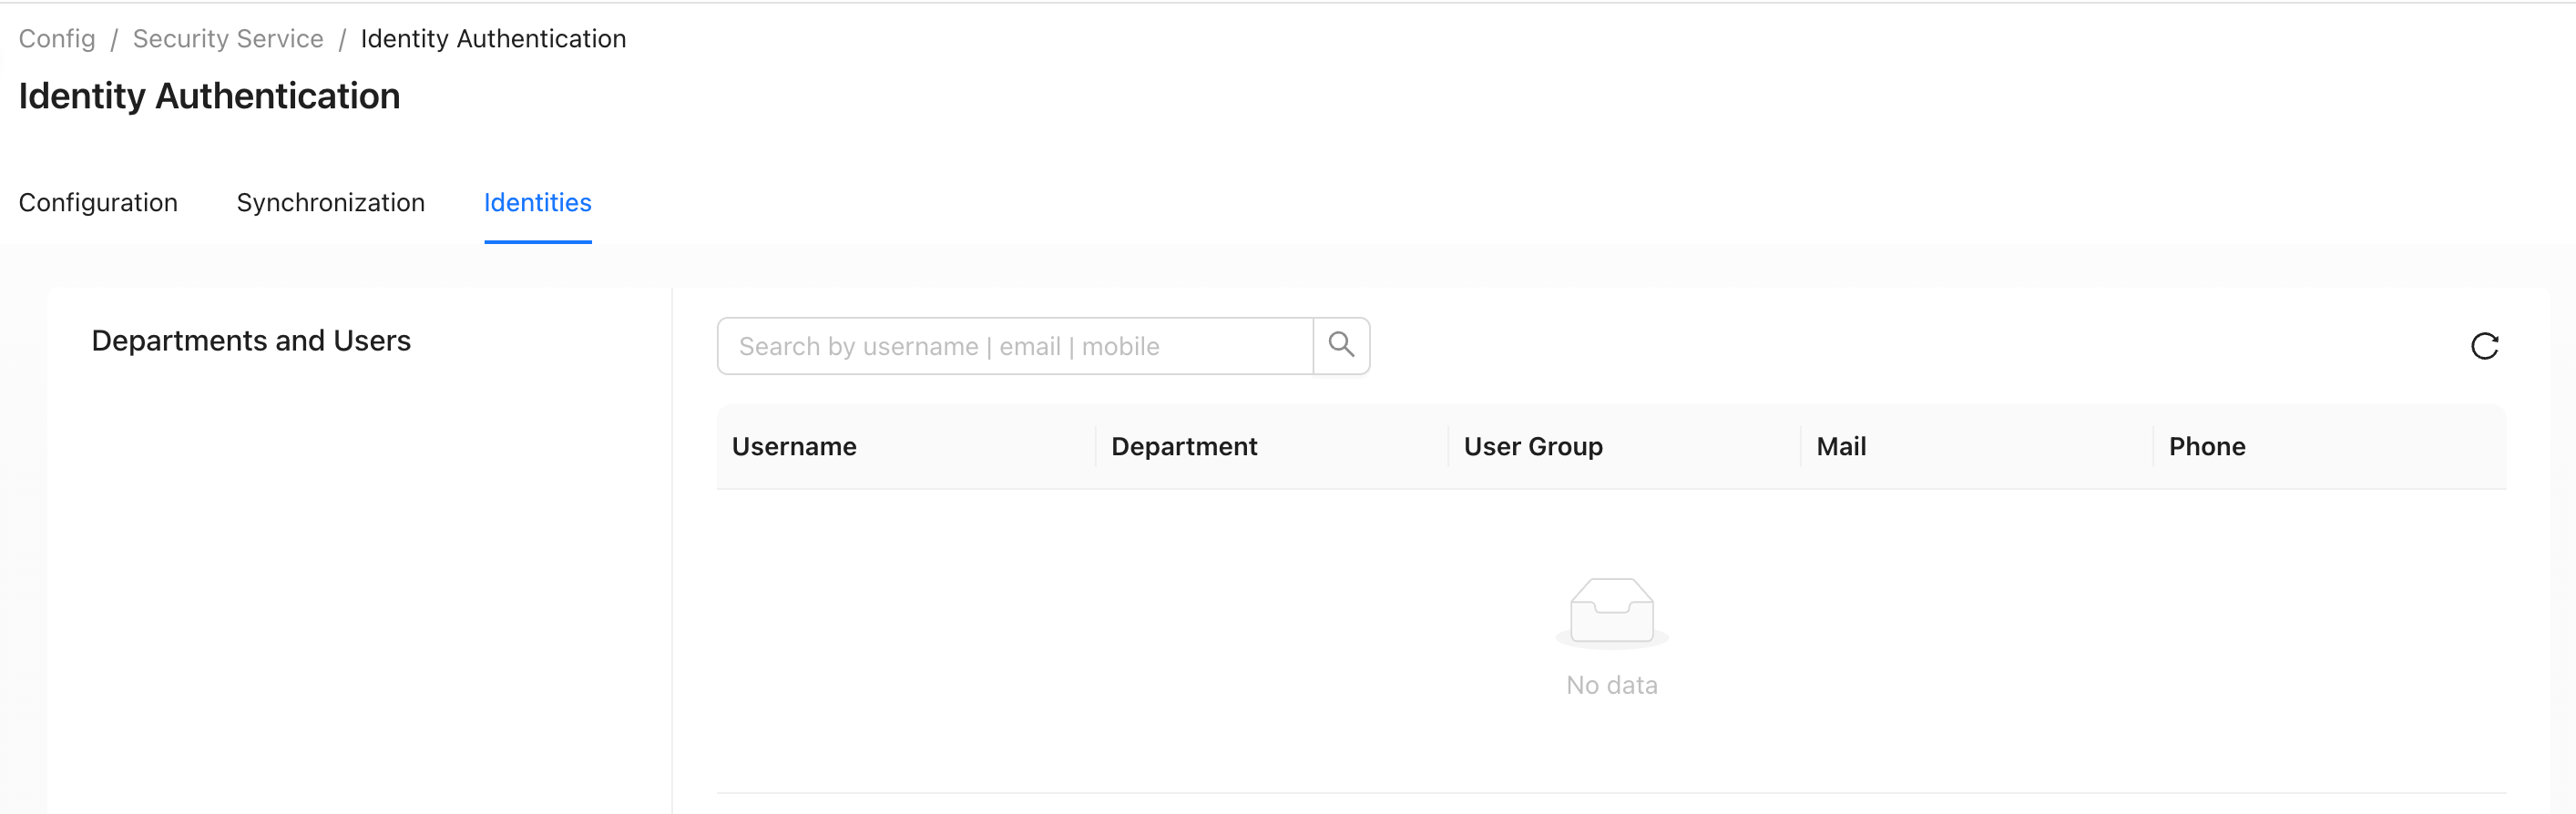
Identity Information
Configuration path: "Tenant" → "Config" → "Security Service" → "Identity Authentication", switch to the "Identity Information" page